REMOVING ESC

- Personally Suggest this Modification!
- But only if you like wires!
First the motor wires:
- RED WIRE - MOTOR +
- BLACK WIRE - MOTOR -
- GREEN WIRE - GROUND
- ORANGE WIRE - HEAT SHUT OFF
- WHITE WIRE - HEAT SHUT OFF
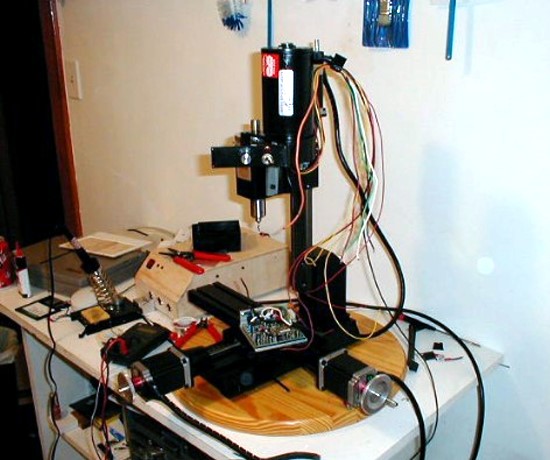
Here you can see that the entire control box has been removed and mounted to the rear of the machine. The second smaller box is the power for the 12v halogen. The head is much lighter and the work is MUCH easier to see, a huge advantage!
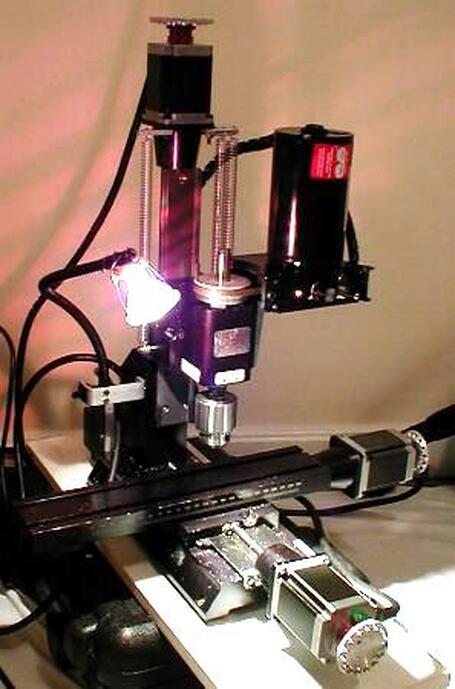
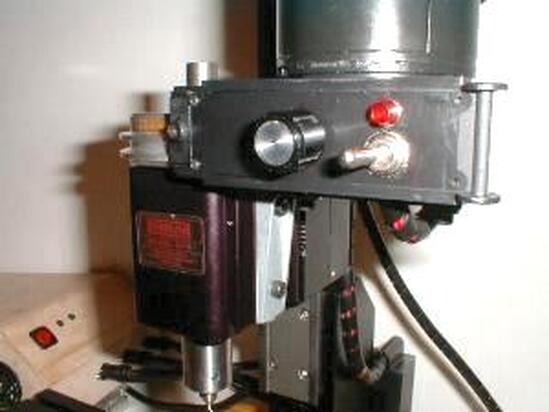
To help out my Z-axis stepper, I added simple springs to aid in pulling up the weight of the headstock. It helps out quite a bit. In this picture you can also see a bright yellow LED (where the control box normally mounts) which tells me the spindle is on via CNC.
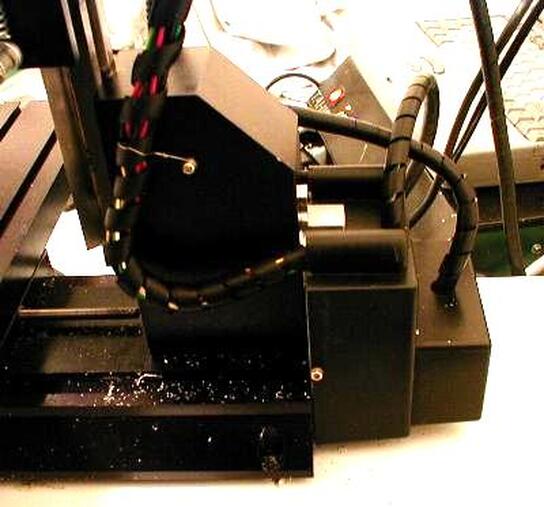
Another view of the wiring. Again, I think this might be the BEST modification to do. You can't imagine how much better you can see your work! Again, make sure you comfy with soldering and playing with wires.
- Update: I have removed the springs and just relay on the CNC
Another view of the wiring. Again, I think this might be the BEST modification to do. You can't imagine how much better you can see your work! Again, make sure you comfy with soldering and playing with wires.
I Blew Up My ESC!!
I blew up my KBIC board, on/off and 4th axis!
Somehow I blew up my spindle ESC and single axis while turning on the power! Power surge? I found a new KBIC board on Ebay.
For more information on the Sherline speed control click KB Electronics.
Somehow I blew up my spindle ESC and single axis while turning on the power! Power surge? I found a new KBIC board on Ebay.
For more information on the Sherline speed control click KB Electronics.
