MS ECO 8
Date: 10-2002
I bought an Ikraus ECO 8! After hearing so much about them and flying my friend Jon's ECO, I was hooked! Quite, efficient and just COOL! Below is my current setup with links to areas. Also, thank you to my very good friend Jon for sending me an extra canopy and a few spare parts!
Motor Phasor: 30-3 Brushless
Transmitter: JR 8103 FM w/ Hitec Supreme Receiver and Deans Whip Antenna
Servos Cyclic: Futaba S-133 Micro
Tail: Hitec 81
Gyro: Ikarus Profi HH Gyro
Battery: 10 Cells 2400 Packs with Deans Connectors
Blades: Standard Blades
ESC: Jeti 40-3P
Charger: Dymond and Regulated 12v 10 amp
Supply: 12v 13 amp supply
Replacing plastic balls with metal
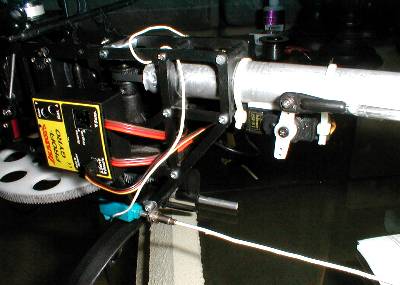
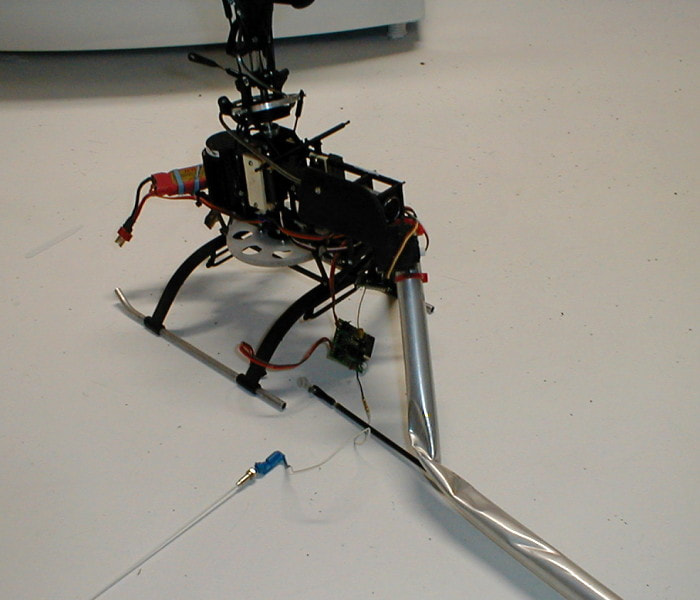
Michael had a very interesting way to mount the tail servo. I found it worked out great! I remade the pushrod, out of carbon fiber, and then remounted the servo. Just use some higher quality double-side tape and tape the servo to the boom. Then use twisty-ties and your done! Easy, secure, and cheap.
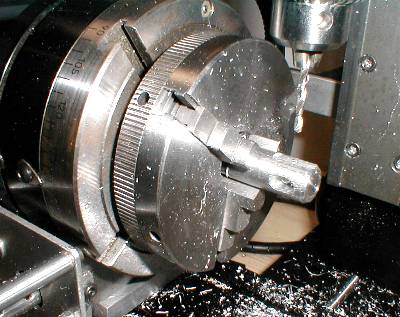
I cannot stand all of the plastic balls. It's more of a personal pet-peeve as I have heard the plastic balls do hold up. I am replacing all of the balls with "rocket city" links/balls (now know as Nelson RC Links). Here you can see the spacer and balls, easy to do on the lathe :)
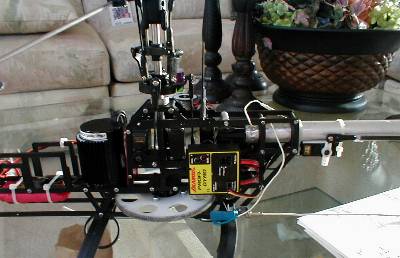
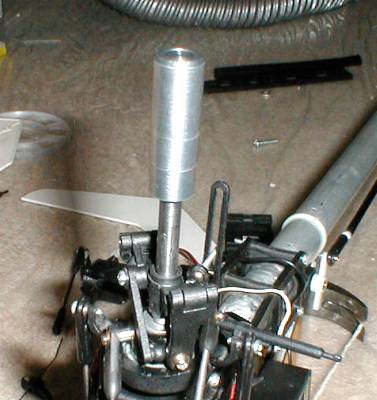
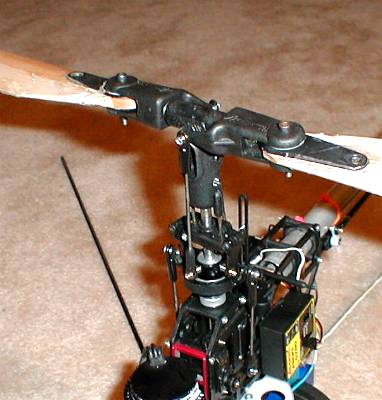
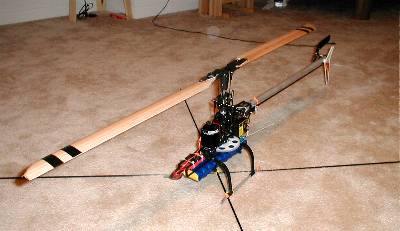
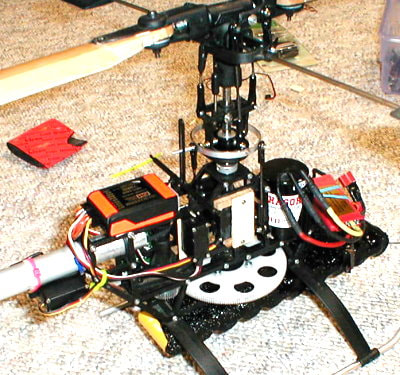
Here is left side view of the chassis. It is pretty much a standard ECO and it flies very well! I installed the receiver, gyro, and whip antenna as far away as possible from the speed control and motor. So far no glitch.
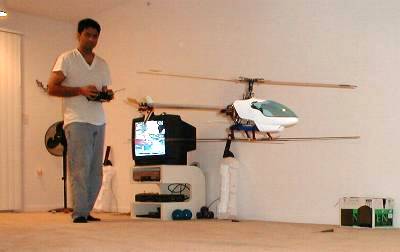
ECO HAS FLOWN!The ECO is amazing! I love it! It is MUCH quieter then I had expected and runs about 8 mins, pretty good! I was skeptical when they said it could out climb a 30 size heli. Well I can now say, it is very comparable. If setup right, it can really climb. It is quite amazing!
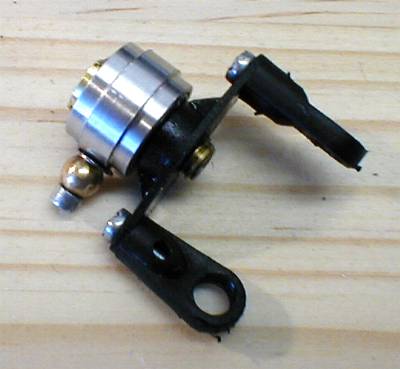
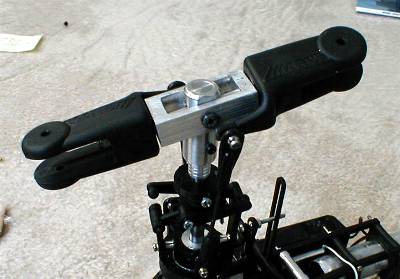
I re-made the pitch slider for the ECO. I find it odd they used a needle bearing instead of normal radial bearings, price I guess. Here is a picture of my new pitch slider with 2 new bearings, works great! 10-22-02
Some Things I don't Like About the ECO 8
- Plastic and metal balls which are not standard size.
- No spacer in the main blade grip.
- Plastic tail pulleys strip and are not perfectly true (they are find overall).
- Frames bend to easy
ECO-8 Goes Flybarless
I am using 6061-T6 aluminum for this project. I first turned the main head block and then drilled a 5.98 mm hole 20 mm into the block for the main shaft. 10-30-02
I mounted this on my rotary table and using the mill, I cut out a slot for the spindle to go through and drilled/tapped two 3mm holes for the teetering system.
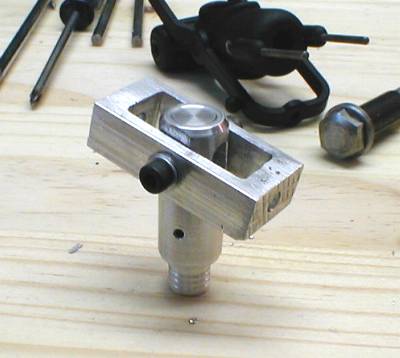
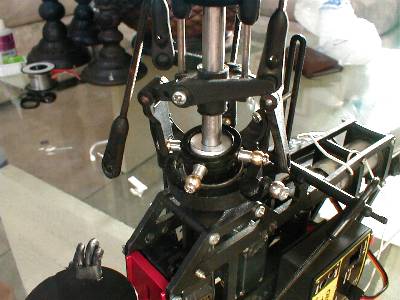
Here is the little teetering head. I drilled out a 2 mm hole which is tapped on one side for the main mast bolt. I don't have bearings in the teetering system yet, this is more of a prototype...here we go! 11-02-02
Here the blade grips are installed on the spindle. If this works I might remake the teetering part for 3mm bolts. This would get rid of the spindle and make it easier to make the parts. The anti-rotation guide is made out of a Philips screwdriver handle and one 2 mm screw and nail :)

BOOMSTRIKE!
So far no good :) It just tipped over to the left, the blades hit the ground and boomstrike. I think I had everything setup right?? Will have to do some more research on flybarless systems. 11-03-02
What Went Wrong??
* I did not use training sticks and this was a big no no. If your trying out something new like this, put the training sticks back on.
* I tried it in the grass! BIG MISTAKE !! Doing this did not allow me to see anything, any minute change that was going on with the heli before any signs of lift off. By the time the heli lifted it was simply to late.
FLYBARLESS ECO LIFTS !!
Well I changed out the boom and bent the main shaft back to a usable amount. It will do for these test flights :)
The training sticks and concrete did the trick. BEFORE lift off I could tell the ECO was pulling left, about 25 R on the subtrim helped that. On lift off it would drop its tail, about 15 down on the subtrim helped that. After that 30 expo, but I think 50 might be better, helped out greatly. It's actually controllable and sounds a little different! ALL RIGHT we are getting there!
11-03-02
What's Next on the Flybarless ECO Plan?
I think the blades need tip weights for this system to be more stable. The heli just feels to light.
Also note, You probably only need the system to teeter about 1 inch up and down. Mine teeters way to much, about 3 inches below the tail boom. I don't think this matters in flight as the head teeters as needed but might invite more boomstricks.
Here is my new head design. It is a stock ECO main head but the hole for the spindle is drilled out to 9/32". This allows the head to teeter more. I tried it again and the same thing, trim changes and jerky movements. The training sticks saved my butt a few times! It looks promising. 11-6-02
FLYBARLESS ECO FLIES
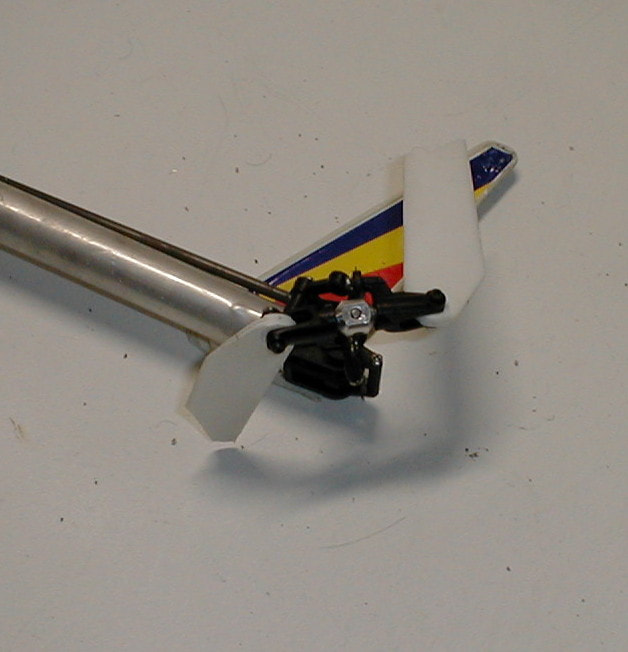
Yes, it flew a bit, I actually took it up about 4 feet. What did the trick? TIP WEIGHTS! You will need to add tip weights in the blades. I milled out slot and cut 50mm of an eco flybar to put in there. I CAed it in place and used some electrical tape to make sure the weight did not come out. INSTANTLY the heli behaved differently, it was actually "stable!" I think twice the weight of a 50mm flybar section will do the trick. Before I do that I want to look into thrust bearings or at least putting a spacer between the current main grip bearings.
11-6-02
Here is a live action shot of the ECO flying! The camera stopped the rotor blades and you can see the flybarless action :)
If you plan to try this:
If you plan to try this:
- Start with 50% less throw then normal
- Set your Expo 50% soft in the center
- Add in a full amount of Rt. trim
- Add in some back trim
- And make sure to add tip weights!!!
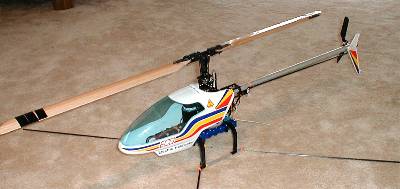
Here is the ECO 8 with its new look! The stickers went on with no problem. I cut and added a tail fin sticker to the top rear of the canopy to give it a more "personalized" look :) 11-9-02
Back to flybar
I flew the ECO again, flybarless and had a touch with earth. It's still a little unpredictable and requires consistent input. I bent the spindle and mainshaft back and called it a learning experience for a later date. With the little time I get to fly, I just want to fly and not worry :) 11-10-02
I flew the ECO again, flybarless and had a touch with earth. It's still a little unpredictable and requires consistent input. I bent the spindle and mainshaft back and called it a learning experience for a later date. With the little time I get to fly, I just want to fly and not worry :) 11-10-02
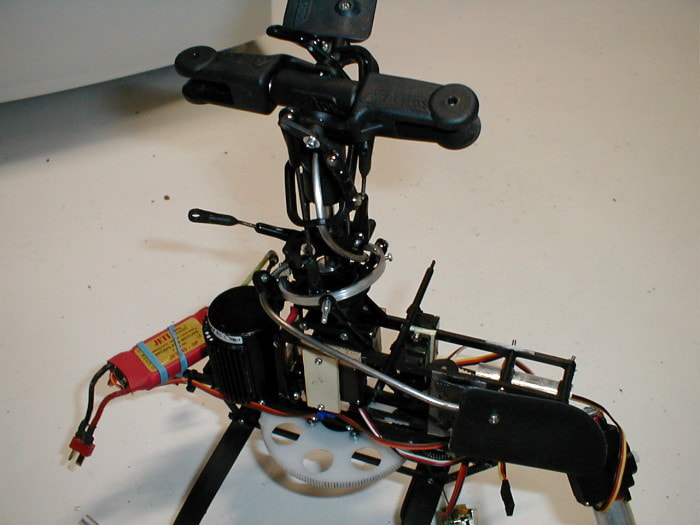
ECO Goes CCPM !
I had thought about mounting a piece to make the CCPM until I saw a picture on the internet where they used a plastic ring. Full credit for this idea goes to Gary at Dream-Models. What a great idea! Simpler and more sturdy. I cut a ring out of aluminum and mounted it using the existing arms. I then drilled for 120 CCPM. It works very well.
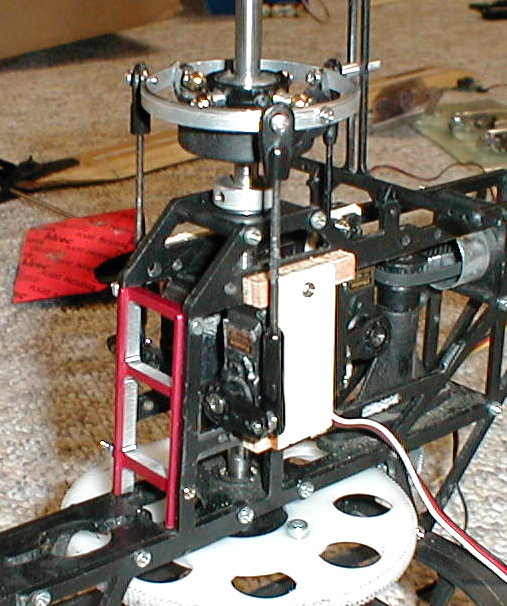
Here is my current setup. As you can see I cut the center brace and mounted my servos INTO the frame. I had to cut the servo mounts off and made some lite-plywood mounts. I used Trinity double-side tape to mount thee servos to plywood. The servos are all lined up and mounted stiffer then before. I hope this takes out some of the play in the system. 11-15-2003
ECO Bites the Dust
Well it was bound to happen someday. I finally killed the ECO. I would love to say it was from some act of extreme flying, some incredible stunt only God himself could pull off...but nope, it killed itself on the carpet, at home. I was hooking everything up to get her flying after months of downtime and while doing so it went to full power. O yes, the TX stick was on low but the ECO was screaming at full! Luckily the main blades were not on and it didn't hit me. Fixing it would cost me more then I am willing to spend and I have sold the basic parts, motor, esc, and batteries. 3-7-04