MANUAL ROTARY TABLE TO CNC!
Date: 4-6-2001
- Version 1 (2001)
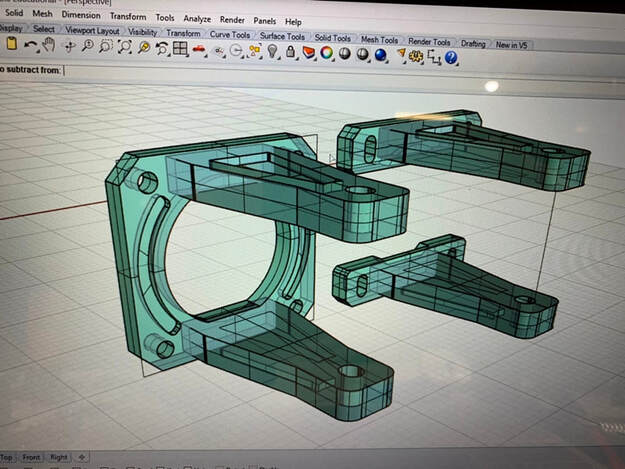
- Version 2 - 3D printed (2020)
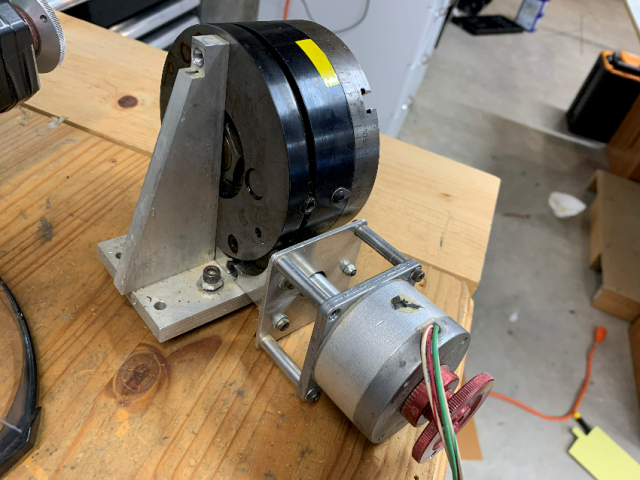
- 90 Degree Mount
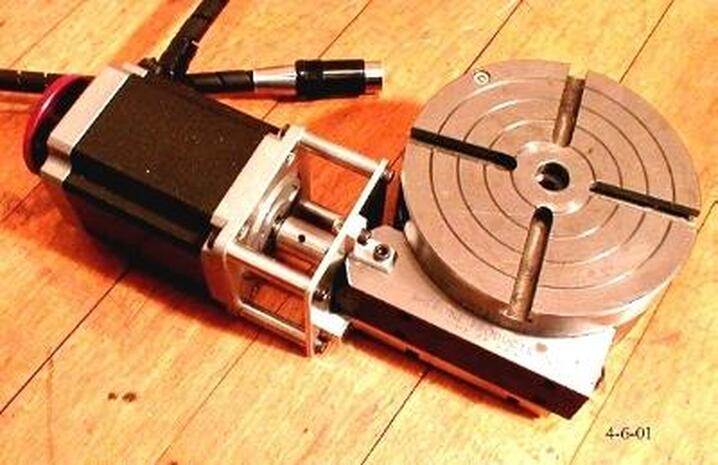
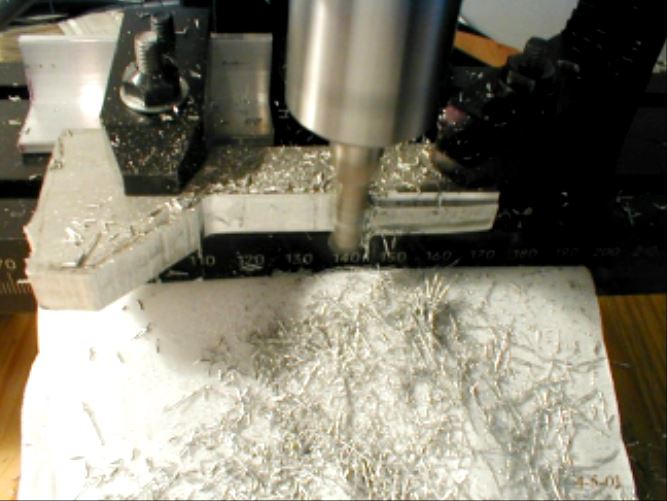
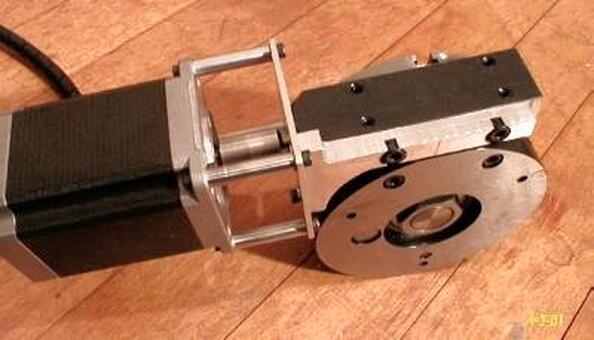
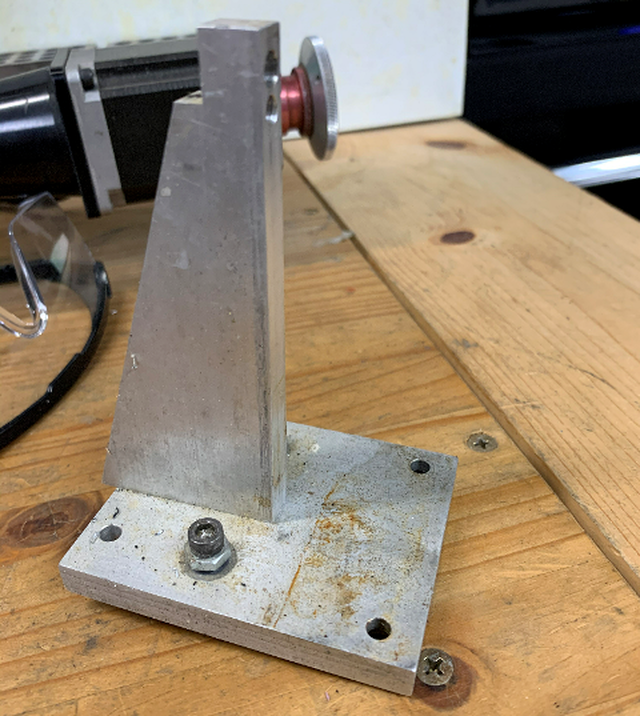
Pictures of how I connected a Sanyo Denki Stepper to my manual Sherline rotary table. I made these mounts manually even though I have the CNC setup. Sometimes it's just easier to make a part on paper than the computer :)
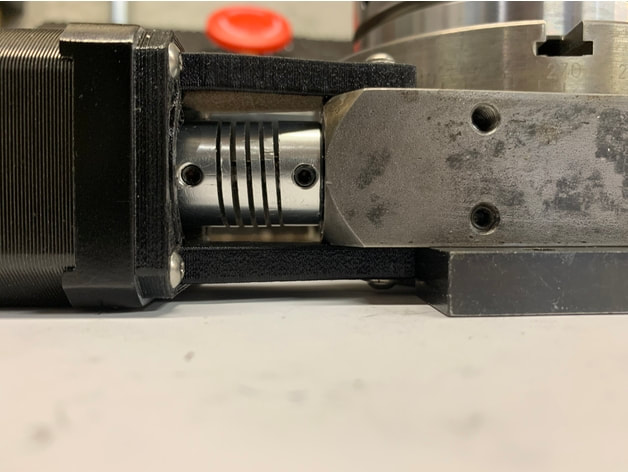
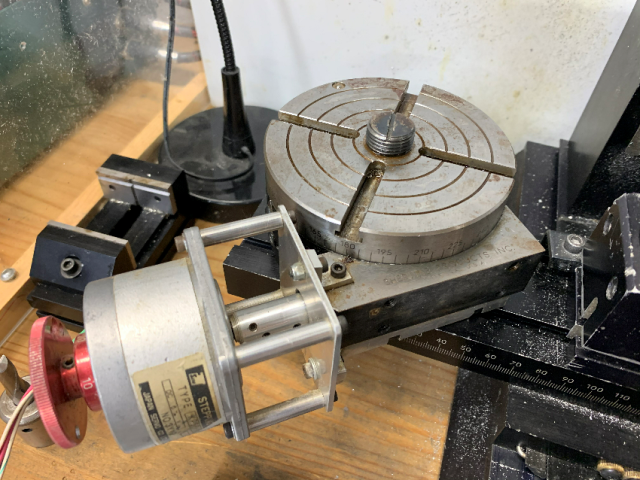
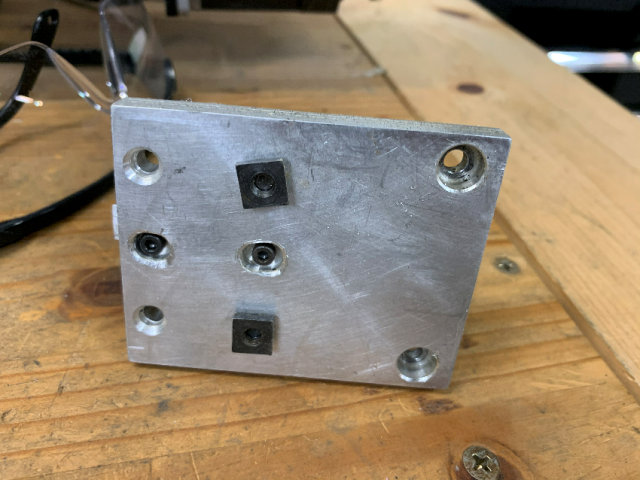
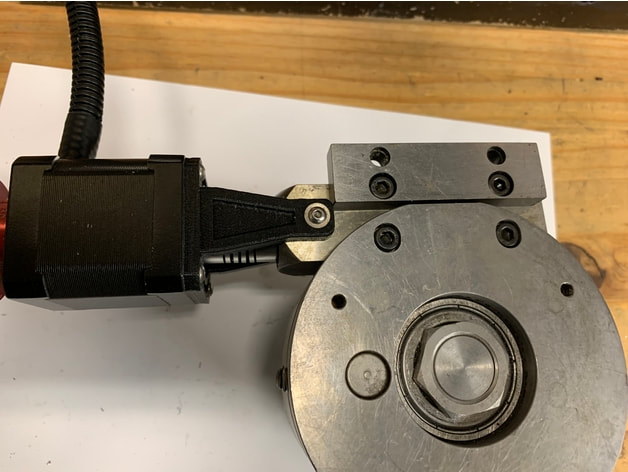
I used the existing lower mounting holes located on the bottom of the table to mount a bracket to hold a "motor plate." This plate is then supported at the top with a small 90 degree angle, which is tapped and bolted to the table, to support the motor's weight. The motor is then directly connected to this plate via turned standoffs and 3 mm screws. The motor is connected to the table's leadscrew with a turned and tapped coupler.

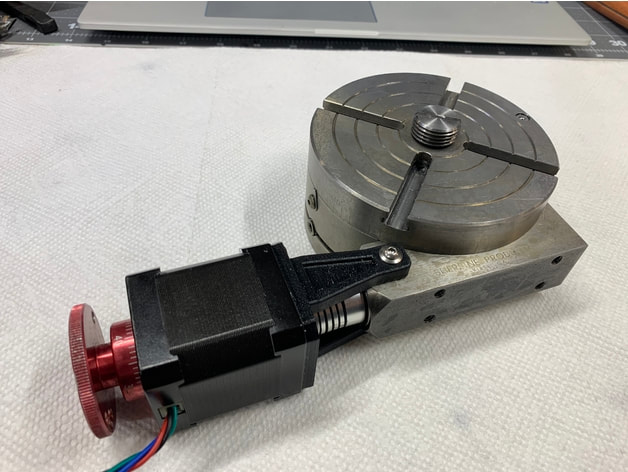
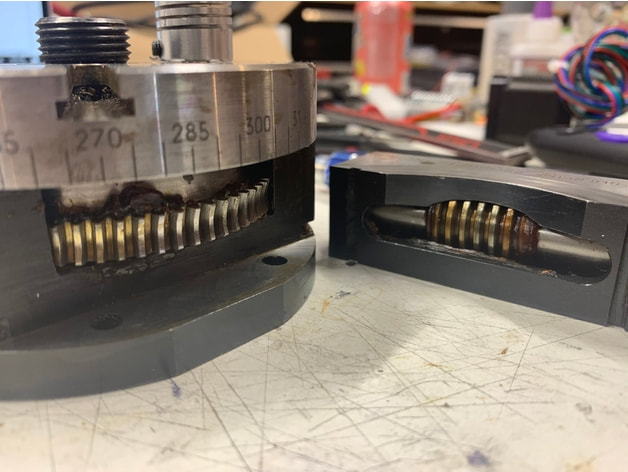
Overall it works great! I had to play around with the mesh of the gears to take out as much backlash as possible. Make sure you CHECK for any metal chips in the gear mesh and re-grease the gears! Last thing you want is a metal chip binding up your expensive table!
The motor connector, behind the motor, is a normal radio shack 5 pin DIN connector. I used a 3/8" piece of aluminum, put a taper on it to make it look nicer, polished via steel wool #0000, and drilled out the center. I then bored out the connector to 3/8" and glued the 2 pieces together! Cheap, effective, and looks nice :)
The motor connector, behind the motor, is a normal radio shack 5 pin DIN connector. I used a 3/8" piece of aluminum, put a taper on it to make it look nicer, polished via steel wool #0000, and drilled out the center. I then bored out the connector to 3/8" and glued the 2 pieces together! Cheap, effective, and looks nice :)
Why such a large stepper you ask?
Well, being the curious one I opened this stepper to see how it worked, smiling? Been there huh :) I learned very quickly not to open a stepper motor or at least not to pull one apart. Magnetism was lost in a second and I think the torque went to 1/2. The motor is weaker, runs hotter and slower. Instead of throwing it away I figured, heck, I'll use it on the rotary table and the CNC 4th axis was born :)
Well, being the curious one I opened this stepper to see how it worked, smiling? Been there huh :) I learned very quickly not to open a stepper motor or at least not to pull one apart. Magnetism was lost in a second and I think the torque went to 1/2. The motor is weaker, runs hotter and slower. Instead of throwing it away I figured, heck, I'll use it on the rotary table and the CNC 4th axis was born :)
- Update: Since then, I have changed it out to a smaller stepper around 75 oz/in.
- 90 Degree Mount -
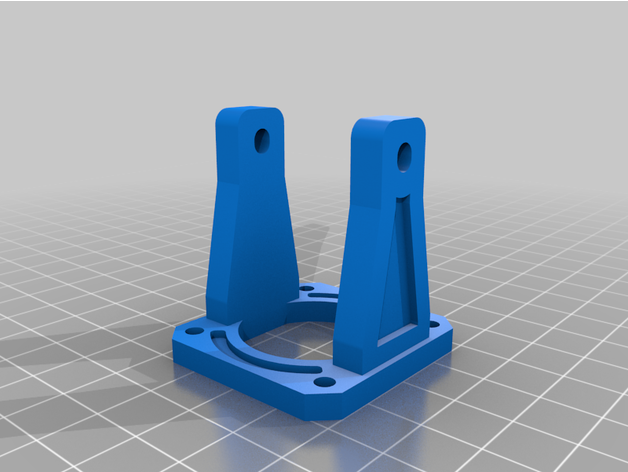
- 3D Printed Mount -
Download : Click Here
Material : PETG
Material : PETG
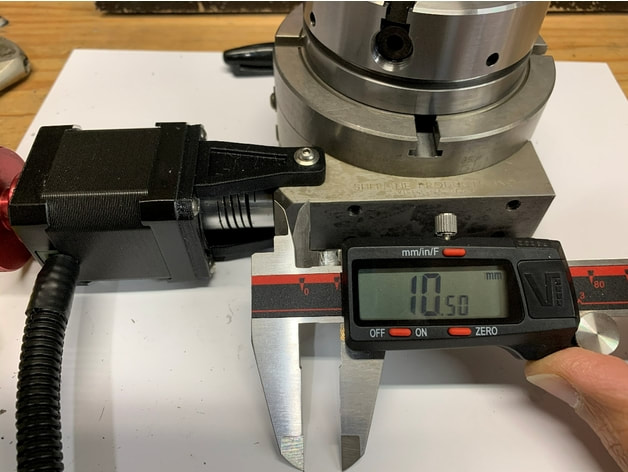

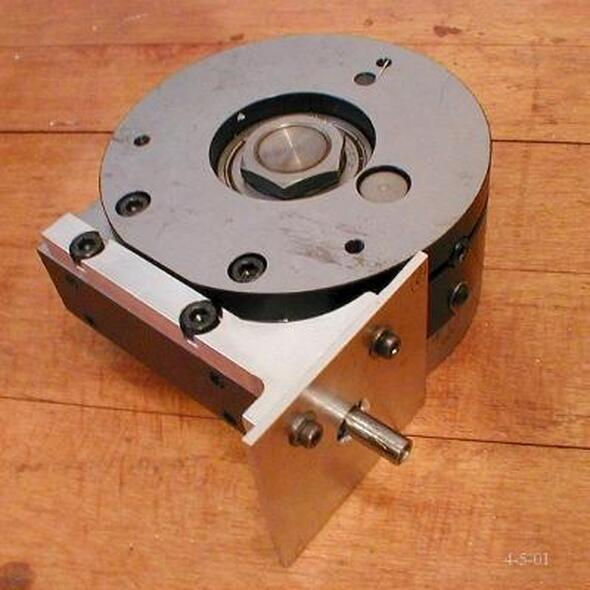
Drilling and tapping the steel body is very easy. I used 3mm bolts.
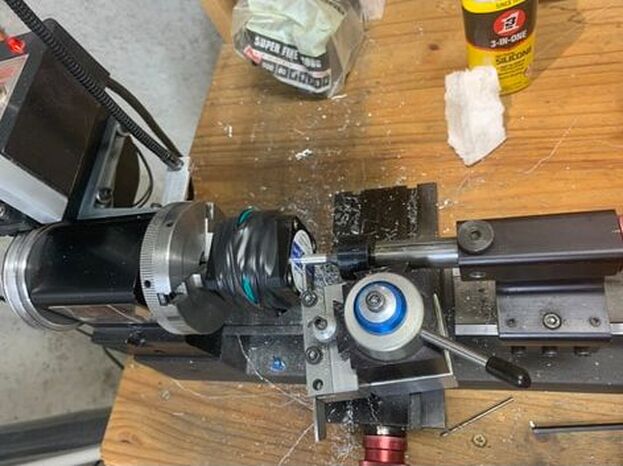
The motor I had did not have dual shafts so I mounted it onto the lathe and drilled-tapped the shaft. I bolted on a shaft and mounted the handwheel.