LMH 110 Modified
Date: 3-2000
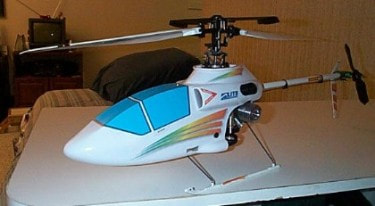
CCPM Collective, Flybarless, Piezo Gryo, Modified Throttle and Tail, Pressured Fuel Tank
Frist Try
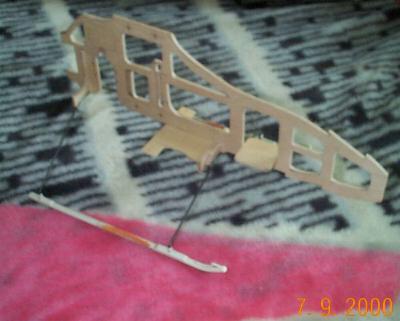
Here is the general layout of collective 1. Trying to make all of this by hand and Dremel pretty much broke me down into getting my machines! Now I wish I had bought them 10 years ago! The mainshaft is slotted and a washout unit that I made runs the collective. Its a scaled down version of a Kyosho model. Its not worth the hassle, go CCPM!! Keep it simple.


Here is the washout unit I made, this was the second version as the first was out of plastic. Man I love these machines already! It was never used but is on "display" as one of my first parts hehhee :) 5-31-00
CCPM Flybarless
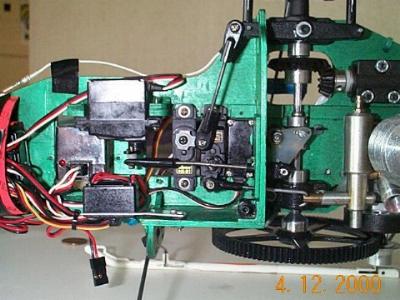
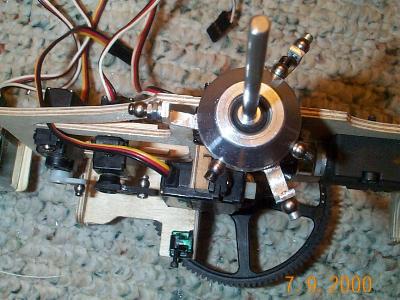
Here is the beginning of the CCPM. A new layout for the servos taking into account pushrod placement and weight distribution. Its made out of plywood just like the original and cut on a Dremel scroll saw. 7-11-00
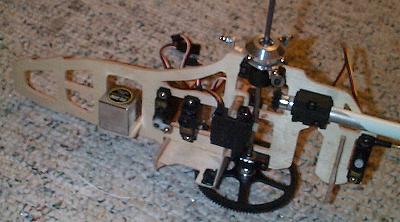
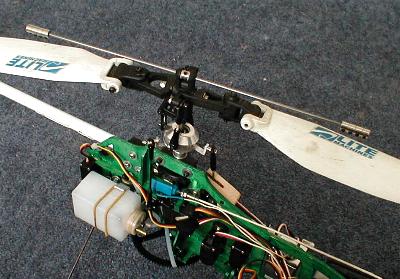
Here is a picture of the servo layout with gyro placement. Looking good :)
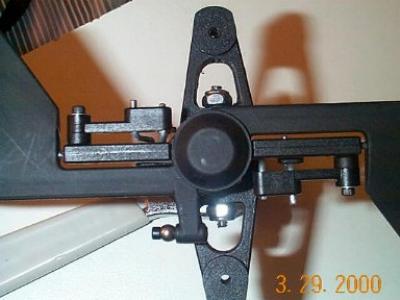
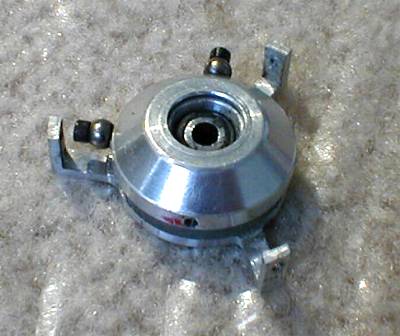
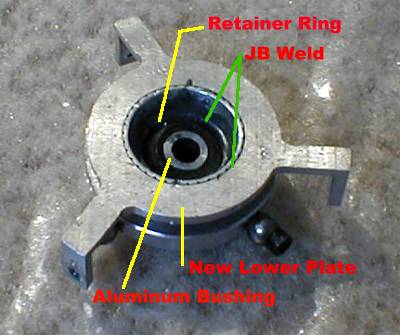
I then made a new lower portion for the swashplate. I used the existing LMH top part. You will need to do something as the kits swash is not make to pivot. Also consider 90 CCPM (see the 3 pics).
I then made a new lower portion for the swashplate. I used the existing LMH top part. You will need to do something as the kits swash is not make to pivot. Also consider 90 CCPM (see the 3 pics).
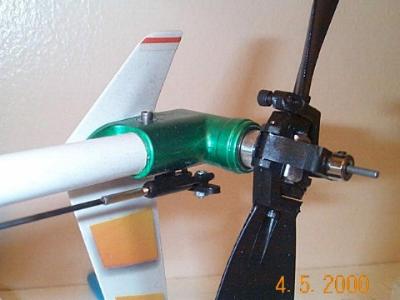
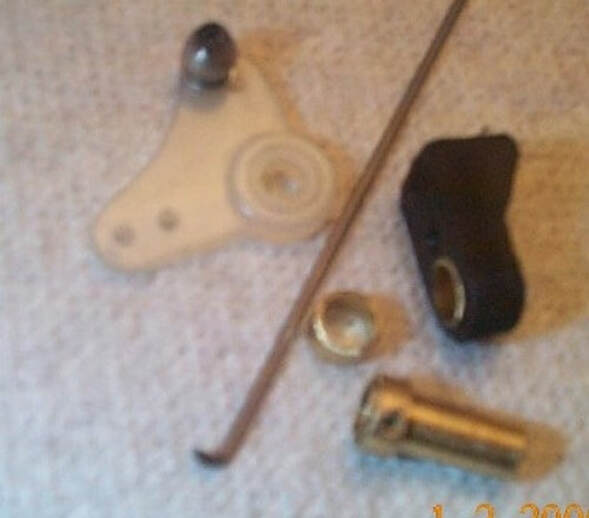
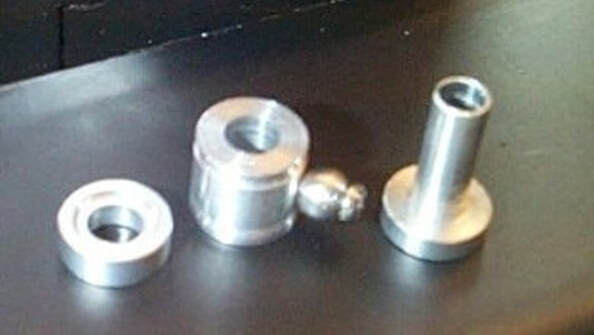
I turned an eyelet for the tail and got rid of the mechanical gyro. If you love the LMH, get a piezo gyro for it, you won't ever go back! You can now buy this same piece I made for around $7 through Lite Machines. Its worth it, or make your own.
Here is the main head. I cut the blade holders in half and stuck a bolt through it. I used a piece of fuel tubing as a cushion but I don't think its needed do to the blade flexure. Currently I am using a 3 mm bolt with locking nut. Use the 4 degree blade holders.
4-1-00
4-1-00
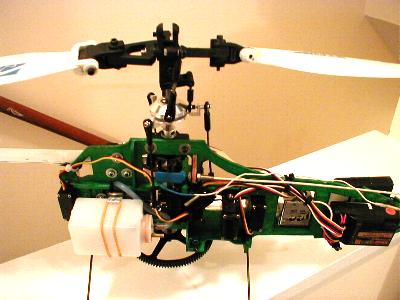
Here is the right side of the heli with new gas tank placement. I bought a back-plate pressure thingy for the engine and have a normal chunk style tank for those inverted flights :)

Here is a picture of it flying. No, the tail slide was not meant but I later found the elevator servo had one chipped tooth. Made for an interesting flight hehehe!
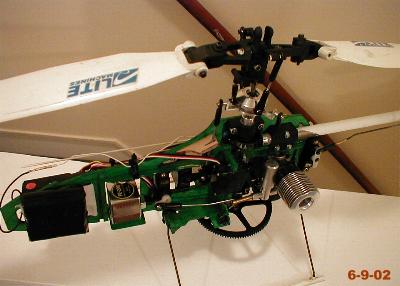
Here is the most current version. Its pretty stable, and I was able to land it on all 3 takeoffs. Its getting there. Make sure you grind flats and grind the setscrews flat for maximum hold. Use blue loctite. 7-8-02
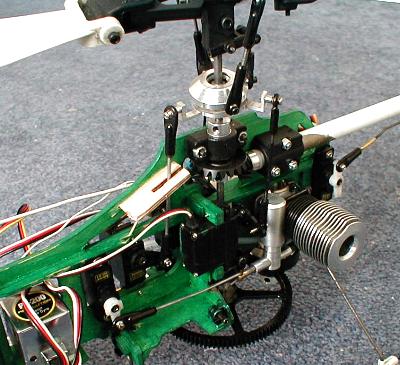
Here is another view. Note that I am using a anti-rotation for the swashplate from the existing LMH piece. Also, you will need a anti-rotation for the entire swashplate which is simply made out of wood here.
I think the design and experimentation on this project is coming to an end. Sadly, I am "burned out" with this particular project, engine and general design.
No more work will be done on the LMH as far as I can tell :) It is in a little box right now.
To make a good flybarless design you need a stiffer head (teetering) and weighted blades are a must!
Check out my ECO 8 Goes Flybarless Page for my next flybarless attempts!
